Growing your own food is the thrill. You will feel an enormous sense of accomplishment. No matter if you start from seed or maybe get some plants from a community nursery when you take an attack out of that first home tomato, you will never want to have a store-bought one again.
But you may be asking yourself what happens when the gardening season concludes? This is where storage comes into play. I just wrote a few articles about basic storing methods, in this article, I want to give you precise steps to “can” individuals’ homegrown tomatoes using the normal water bath method.
The canning items you will need are the pursuing:
Some canning jars. These are typically available for about $9 for you to $14 per dozen, with respect to the size. They come in pints along with quarts as well as wide jaws and narrow mouths. Just for this article, I am using a quart type of jar with narrow jaws.
Jar bands and truck tops. These usually come with the containers, however, the lids are not used. I’ll get to more on this in a moment.
Some products. These will include a sport bike helmet grabber, which is nothing more than some sort of stick with a magnet upon it, a jar grabber, plus a funnel.
You will need large marijuana that is deep enough to get the jars in and still have at least one inch of normal water on the top. Many places will sell a pot/utensil combination package for $30 to 50 dollars.
Items that you will need that you may have about your house already, but will require:
Lemon Juice
Salt (optional)
Teaspoon
Teaspoon
2 pots, one for hot water, 1 with regard to ice water
Tongs to seize the tomatoes
A ladle for the hot water you will increase the jar
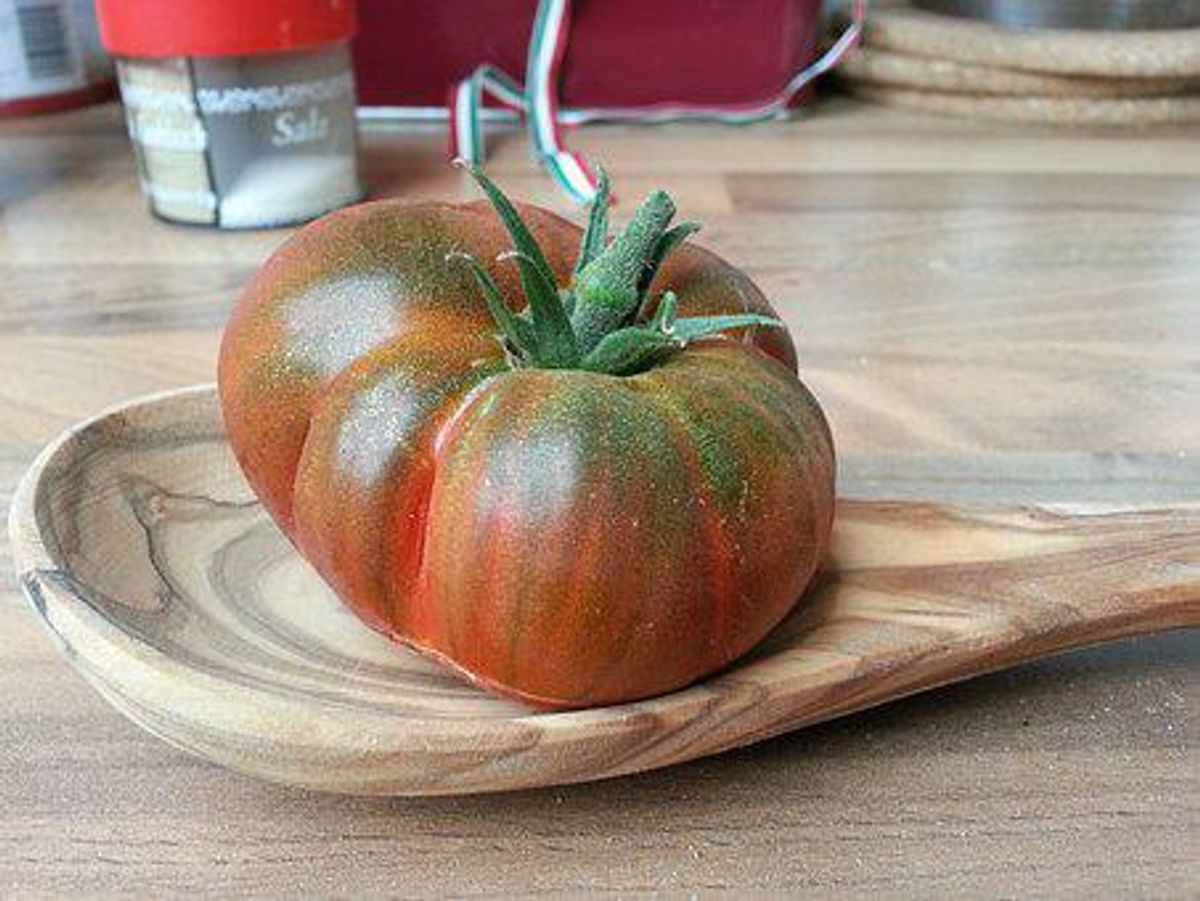
For this article, I selected Roma tomatoes that I increased in my garden. The steps are exactly the same for any tomato, but the rooms are perfect for marinara sauce. I love my beefsteak tomatoes with regard to salsa. I’ll save which for a separate article.
STEP ONE – Peel the Tomato vegetables
While you don’t absolutely need to remove the skins, your tomato vegetables will taste much better afterward when you go to use them.
The simple way to get rid of the skins is with the blanching process. Bring the pot of water to a boil. Once the water is actually boiling, drop your tomato vegetables into the pot for forty-five seconds. You will see the skin on the tomatoes start to split and separate.
After forty-five seconds, start removing the actual tomatoes with your tongs as well as immediately plunge them into another pot filled with glaciers water.
Now you are ready to begin peeling the tomatoes. There is absolutely no real science to this. Simply use your fingers and fingers, and start peeling away. I love to keep a bowl close by to throw the peels into. I will then throw all those peels into my fragment bin. Nothing goes to waste materials! Or at least I try to make certain nothing goes to waste.
STEP – Add Some Ingredients
Towards your empty jar, add a pair of tablespoons of lemon juice along with 1 teaspoon of deserving. The salt is optional. In the meantime, before you get to the next step, have a pot of water occurring on the stove. You will increase the hot water to your bottle in a later step, nevertheless, you need this for the liquefied to add to your lemon juice. A number of recipes I have read explained to make sure it is boiling, although some said it only needs to be sizzling. I just heated mine upwards. Never brought it to your boil and it works excellent for me.
STEP 3 – That Tomatoes in your Jar
How one can your tomatoes is up to anyone. Some people like to can these people whole, while personally My spouse and I cut them in half. The selection is yours and the process remains to be the same.
Using your funnel (which helps keep tomato residue over the lids and sides of the jar), start putting your own personal tomatoes in your jar before the jar is filled. Make sure you take as much space as possible. NEVER FILL ALL THE WAY TO THE TOP. Abandon about 1/4″ of scalp space (space between the top tomatoes and the top of the bottle.
STEP 4 – Add warm water
Take a large spoon or even ladle and start taking drinking water from your pot of warm water (from step 2), as well as slowly add it to your jar of tomatoes. Between each ladle of drinking water, use a butter knife or perhaps a spoon and gently slip it down the inside edges of the jar to help launch any air trapped between tomatoes. Fill the container with hot water leaving 1/4″ of the head area.
STEP 5 – Add your own jar to the water shower
Place your jar associated with tomatoes in your large container of hot water. As you can see within the picture, the pot that I feel using comes with a basket along with handles which makes it easier to place many jars on and after that lower the basket into the hot water. It also allows for an area underneath the jars inside the container as well.
STEP 6 – Take away the Jars
Pints will need to maintain the hot water for thirty-five minutes, and quarts for forty-five minutes. If you live in areas of greater elevation you should add an additional 10 to 15 minutes. When the time has elapsed, occurs handy jar grabbing tongs, remove the jars through the hot water bath and place all of them on a cooling rack.
Abandon the jars there for you to cool for 12 for you 24 hours. You will hear some sort of “pop” sound when it absolutely seals. This usually occurs within the first few hours. If soon after 12 hours you did not find out the pop, or you can quickly push the center of the sports bike helmet of the jar in and out, subsequently it means the jar would not seal properly.
I have learned you have up to 24 hours in order to reseal, however at that point I just consume the articles of the jar within several days since I try and accomplish all of my canning in a day. I’d hate to get started all over again for a single bottle. The choice is yours.
And that’s the idea! Store away in an amazing and dry location remote from any sunlight. Cellars and garages. work best for this. Read also: https://www.axonnsd.org/home-improvement/