A doorbell is a security system that rings when someone enters your home. It can be a handy feature, but installing a doorbell requires a little know-how.
To wire a doorbell, shut off the power at your home’s main breaker box. Then, locate your transformer.
Power
Doorbells are a standard feature of most homes. They’re a great way to inform guests when someone is at the door. However, if you’re having trouble getting your doorbell to work, some wiring or component in your home may be causing the issue.
The least likely culprit for a doorbell that doesn’t work is the transformer, which converts and lowers the voltage in your home’s power supply. This is typically located on a metal junction box near your heating/cooling system or outside your electrical panel.
Disconnect the wires from your doorbell transformer by untwisting the wire caps that attach them to your home’s corresponding electrical wiring. You’ll find three wires: green, white, and black, which connect your doorbell transformer to your home’s power supply.
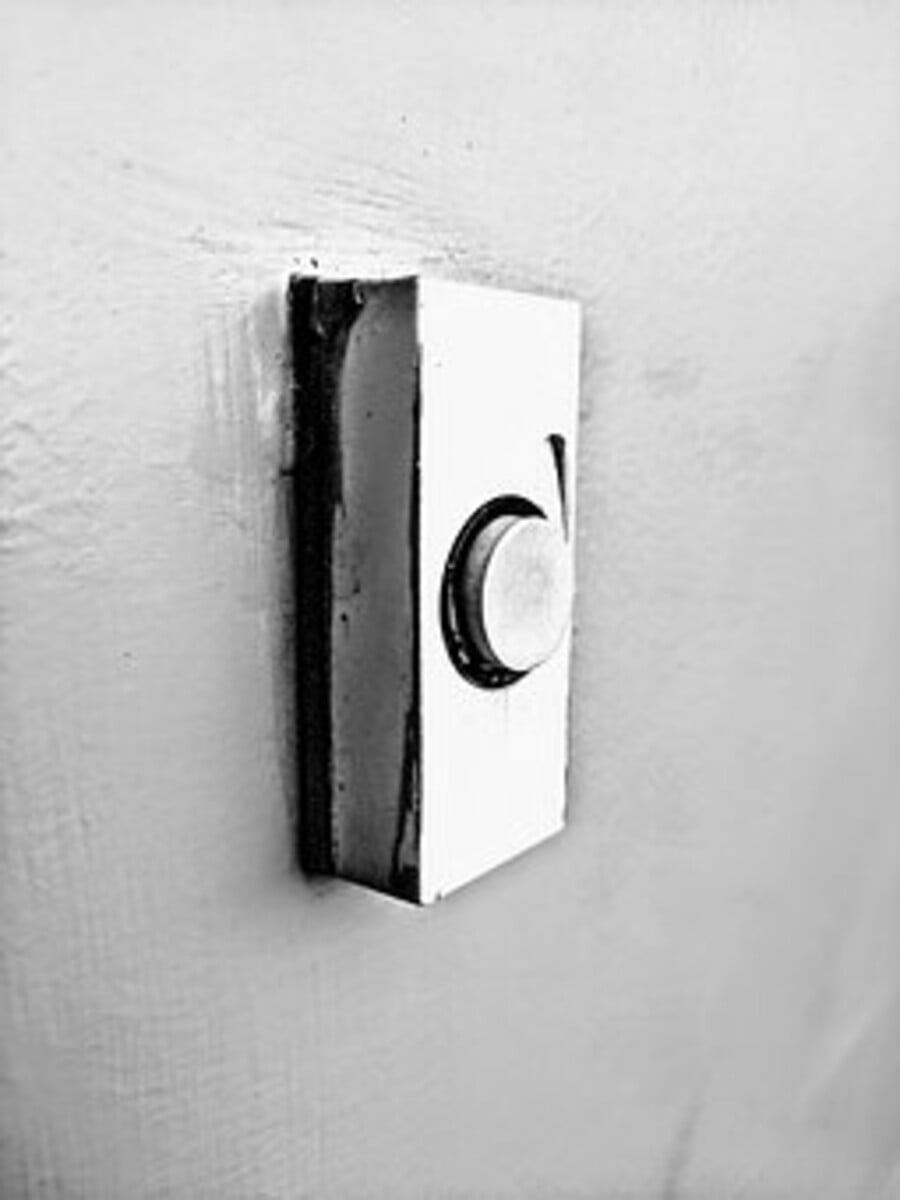
Button
If you want to install a new doorbell or replace an old one, you need to wire it correctly. A doorbell button, chime, and transformer must be hooked together to work correctly.
The chime and button wiring are easy to connect, but a doorbell transformer requires more work. You may need to call an electrician to do this job.
To start, shut off the power to your breaker box. This will prevent your home’s electrical system from being tripped, which can lead to fire or other electrical hazards.
Once you’ve shut off the power, use a voltage tester to ensure no electricity is running through the wires you need to disconnect.
Tape the wires you disconnected earlier in a clean, well-organized manner, so they don’t fall behind your wall when you remove your old system. Next, wrap the doorbell button and chime wires around their corresponding screw terminals.
Chime
If you have a doorbell chime and push button, it needs to be wired correctly. This can be tricky if you’re not familiar with electrical work, and you may need the help of a professional electrician.
A basic doorbell installation consists of a chime, a button, and a transformer. The chime uses small armature rods to strike metal bars or tubes to make sounds.
Removing the chime’s cover lets you check that the wires are correctly connected. Some covers lift off, while others are fastened with latches or screws.
Step 2: Locate the screw terminals on your chime and mark them with tape. Loosen the screws that hold the terminal wires in place using your screwdriver.
The wires from the button will connect to one of the terminals on the chime. This completes the circuit and activates the chime when the button is pressed.
Receiver
The receiver is part of your doorbell that lets you know when someone is at the door. The receiver comes in many different models, so getting the right one for your home is essential.
Wireless doorbells are the easiest to install and usually come with everything you need. However, they require some work to set them up and sync them.
To start, remove your existing doorbell button and the chime unit. You can either unscrew the screws holding the buttons to the wall or remove the plate covering them.
Next, disconnect the wires from the back of the doorbell button and tape them aside. You will need to use these wires for a wireless installation, so you may want to tuck them into the wall or twist plastic wire nuts over them.
You will also need to remove the transformer to which the wires from the doorbell button connect. The transformer will take 110V power and transform it into the 8V, 16V, or 24V your doorbell requires.