As soon as a roof leak appears, it would help if you acted quickly. Before calling in a professional service provider, please take a few simple steps yourself to protect your home and stop its source. Best way to find the Charlotte nc roofers.
Begin by entering your attic or crawlspace and placing plywood across the joists with buckets below to collect any water leaking from above.
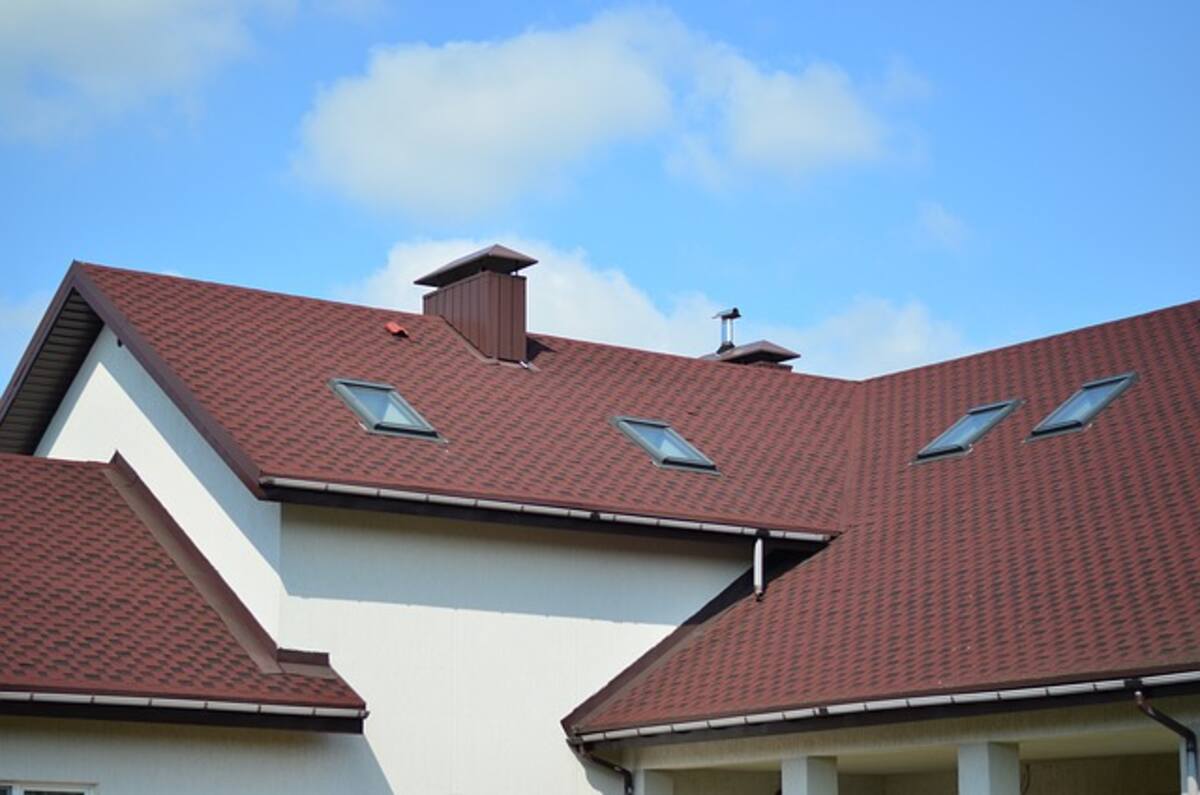
Identifying the Source of the Leak
If you notice staining on your ceiling or water spots on walls and other surfaces throughout your home, these could be signs of leakage from the roof. As soon as you suspect such leakage occurs, it should be checked out quickly to ensure its quick resolution; waiting too long could worsen matters.
Check for missing, curled up, or broken shingles to identify those likely to leak and replace them immediately. Inspect the underside of your soffit for any signs of moisture or mold growth if they appear. If any leakage occurs unexpectedly in your basement or attic, professional help should be sought immediately.
If you suspect a leak in your roof, perform an internal examination during the day with a flashlight to assess it and avoid being startled awake by rain hitting it. If water stains on your ceiling appear darker over time, this could indicate significant leakage that must be fixed immediately. Also, take this time to verify your water meter is kept from getting diverted for other uses, and if necessary, try applying some roofing tape as a temporary fix instead of calling in professional roofers for repair work.
Sealing the Leak
Once you’ve identified a leaky area, getting on a ladder and inspecting your roof is essential. Look for signs like water spots or stains under sheathing or rafters; dark mold or rotted framework wood could also indicate problems; pitched roof houses might experience wet places in their attics or musty smells in specific rooms.
Leaks generally enter through damaged, missing, or overly-curled shingles; poorly sealed flashing around chimneys, vents, skylights, and dormers; and intersections of different roof planes. From there, water travels down sheathing or rafters before finding an opening through which it can leak out – usually via ceilings and walls or through sheathing or walls and sheathing panels into an attic space until reaching a door where it can flow freely and drip down sheathing or rafters until reaching an outlet and drips off into an attic space or basement floor space where it will collect until eventually finds somewhere it can escape through sheathing or walls to find its final destination: Drip finally!
If the leak is in a hard-to-reach spot, finding it may prove challenging in rain or snowstorm conditions. A water test may help: have one person inside spray water through their hose from inside their home with another person outside looking for its source on the roof – this method can pinpoint leaky spots without getting on top of them yourself! If this method cannot find it immediately, temporary measures could be taken, such as placing a bucket beneath it to catch any additional damage from leakage until roofers arrive; another alternative would be calling roofers immediately!
Repairing the Leak
Once you’ve identified where your ceiling leak appears, the next step should be fixing it. There are various approaches to doing so, one being simply patching the hole using roofing tape from inside your attic – much safer and more straightforward than climbing onto a ladder while it rains!
To do so, begin by inspecting the underside of your roof with a flashlight, looking for discolorations or marks on wood framing attic floors and rafters, discolored spots near ventilation vents, as well as places where sunlight can penetrate; these could be signs of leaks.
If this doesn’t do the trick, a water test might. Someone on the roof could spray leaky areas with a garden hose, while someone inside could observe for water spots or damp areas in their attic or ceiling. This method can be particularly effective at finding hidden areas where leaks might be occurring.
If you can’t locate the source of a leak, an easy solution would be to cover the affected area with a large tarp to keep rainwater out during rainstorms. If this does not resolve the problem, replacement materials might be necessary – particularly older shingles worn down by time and nature.
Replacing the Roof
Leaks in roofs can be an immense nuisance, damaging interior surfaces and leading to mold issues if addressed. Depending on its severity, professional help may be required to manage this damage effectively; otherwise, if the leak is small and easy to handle, repair can often be completed independently.
Locate the source of the leak. This may require going into the attic with a flashlight and inspecting its area for signs of water damage, such as ceiling or wall stains or mold growth in rafters or floor. Look out for signs that water has leaked through, such as leakage stains on ceiling or walls or signs of water seepage into attic space, or leaks from vents or pipes in roof rafters, along with rotten wood or mold growth on the attic floor and in rafters.
Once the source has been identified, repairs can be undertaken to prevent further leaks. Common causes for roof leaks include missing or sagging shingles and damaged flashing around chimneys, vent pipes, dormers, skylights, or intersections between different planes on your roof.
One of the easiest and simplest solutions for leaky roofs is using tarps as temporary repairs. Tar paper can be purchased at most hardware stores, then applied using a caulk gun directly over damaged areas. You may also nail down its edges to ensure it won’t fly away during stormy weather. However, this temporary measure should still be considered adequate; more permanent solutions must still be found.
Read Also: How Do You Take Care Of A Chimney?